Darktable is a free and open-source image editing, photography workflow application, and raw developer. It is built for photographers, can handle and process a larger number of images easily.
The raw image files are minimally processed images captured by a digital camera or any image scanner, Darktable manages these files in a database and lets you view them through a zoomable lighttable, and enables you to develop and enhance these raw files.
In this article, we are going to show you the steps on how to install Darktable in Ubuntu Linux.
Features of Darktable
The key features of the Darktable image editing application are –
- Non-destructive image editing
- Cross-platform, supported on various operating systems
- Support multiple image formats
- GPU accelerated image processing
- Professional color management
- Zero-latency, zoomable interface
- You can automate repetitive tasks using Lua scripts
How to install Darktable in Ubuntu
On a Ubuntu system, you can install Darktable image editing software in many ways, a few of them are discussed below you can follow one of the given methods to install it on your system.
Method 1: Installing Darktable from its official repository
To install Darktable using this method first you need to add its repository to your system. So use the following command to add the repository –
echo 'deb http://download.opensuse.org/repositories/graphics:/darktable/xUbuntu_20.04/ /' | sudo tee /etc/apt/sources.list.d/graphics:darktable.listNext, download and import the GPG key by using –
curl -fsSL https://download.opensuse.org/repositories/graphics:darktable/xUbuntu_20.04/Release.key | gpg --dearmor | sudo tee /etc/apt/trusted.gpg.d/graphics_darktable.gpg > /dev/nullNow use the following command to refresh the apt package index –
sudo apt updateFinally, use the given command to install the Darktable on your system –
sudo apt install darktableType y and then press the Enter key if it asks for your confirmation.
The commands given above will work perfectly on Ubuntu 20.04 LTS but if you are using another version of Ubuntu then you can refer to this page. Here you can also directly download the binary packages for a specific version of Ubuntu.
Method 2: Installing Darktable using Flatpak package
Flatpak is another way of building, distributing, and running sandboxed desktop applications. It is a universal package format for Linux platform.
To download the Darktable Flatpak package first you need to install and configure Flatpak on your system. To install Flatpak open your terminal and execute the given command –
sudo apt install flatpak -yNext, add the Flathub repository by using the given command –
flatpak remote-add --if-not-exists flathub https://flathub.org/repo/flathub.flatpakrepoNow use the given command to install the Darktable Flatpak package –
flatpak install flathub org.darktable.DarktableOnce it gets installed you can launch this application by using the given command –
flatpak run org.darktable.DarktableOpen the Darktable application on Ubuntu
Once the installation is completed you can launch it by searching Darktable in the Ubuntu activities dashboard as given in the image below.
You can see the user interface of the Darktable photo editing application in the given image.
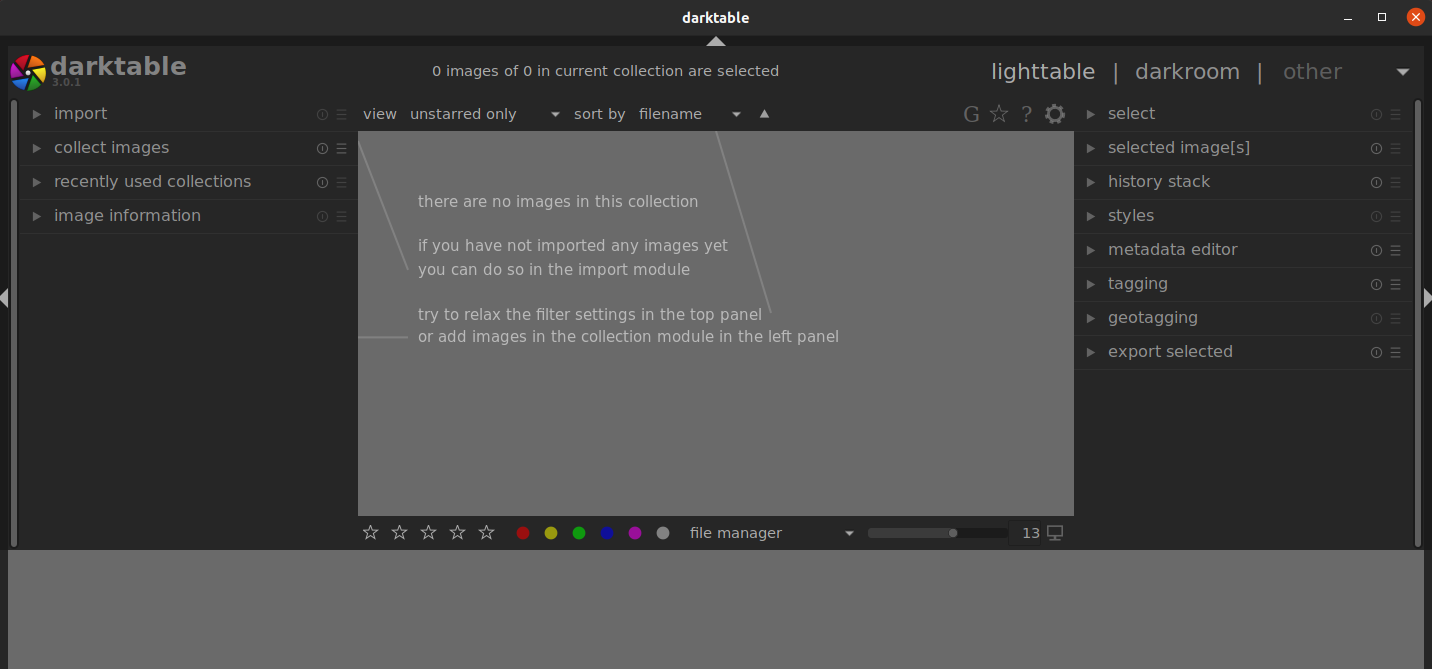
Here you can import images and start editing them.
Conclusion
So you have successfully installed the Darktable photo editing tool on your Ubuntu system. Now if you have a query or feedback then write us in the comments below.