A voice assistant is software that uses voice recognition, language processing algorithms, and voice synthesis to listen to specific voice commands and respond with information or function requested by the user.
Mycroft is one of the most popular open-source voice assistants which can be installed on Linux, Raspberry pi, etc. Mycroft Mark I and Mark II are next-generation smart speakers that come preloaded with Mycroft voice assistant software and designed to perform tasks such as adjusting lights, playing music, tweaking your thermostat, performing some actions on your desktop, etc.
In this article, I will discuss how to install and use Mycroft voice assistant in Ubuntu.
How to install Mycroft in Ubuntu
You can install Mycroft in a Ubuntu system in given two ways.
Installing Mycroft using Snap
Snaps are containerized packages that can be used across the different distributions of Linux. It comes by default enabled on a Ubuntu system so use the following command to install the Mycroft snap package –
sudo snap install mycroft --betaInstalling Mycroft via git
Another way to install Mycroft is via git. First, use the following command to download the Mycroft package from git –
git clone https://github.com/MycroftAI/mycroft-core.gitMove to the downloaded directory –
cd mycroft-coreThen run the following command to install the software. This will ask you a few settings read all of them and press Y or N for yes and no respectively.
bash dev_setup.shRun Mycroft in Ubuntu
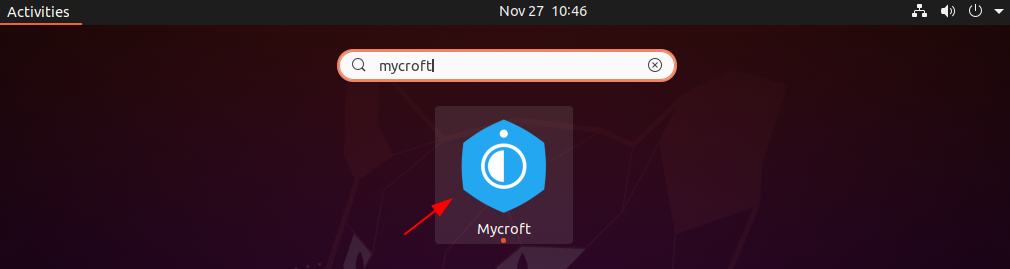
After installing the Mycroft package on your system you can start Mycroft from the Ubuntu’s activities dashboard.
OR if you installed it via git then from the mycroft-core directory use the following command to start it –
./start-mycroft.sh allWhen the first time starts it will download some dependent packages. Now ready your microphone to do some task by using voice commands. For example, if you wanted to set a timer for ten minutes, you literally just have to say “Set a timer for ten minutes.” Mycroft will detect your speech and then get your timer started.
If you want to stop Mycroft services just say “Hey mycroft stop”.
Conclusion
Ok, that’s all for now I recommend you to try it by installing Mycroft on your system. If you have a query then write us in the comments below.
Dont work i get the ModuleNotFoundError: No module named ‘inflection’
What ever i do, it will be there.
System Ubuntu 22.04 desktop
____________________________________
Already up to date.
Starting all mycroft-core services
Initializing…
Starting background service bus
CAUTION: The Mycroft bus is an open websocket with no built-in security
measures. You are responsible for protecting the local port
8181 with a firewall as appropriate.
Starting background service skills
Starting background service audio
Starting background service voice
Starting background service enclosure
_________________________________________
Traceback (most recent call last):
File “/usr/lib/python3.10/runpy.py”, line 187, in _run_module_as_main
mod_name, mod_spec, code = _get_module_details(mod_name, _Error)
File “/usr/lib/python3.10/runpy.py”, line 110, in _get_module_details
__import__(pkg_name)
File “/home/eekie/mycroft-core/mycroft/__init__.py”, line 17, in
from mycroft.api import Api
File “/home/eekie/mycroft-core/mycroft/api/__init__.py”, line 22, in
from mycroft.configuration import Configuration
File “/home/eekie/mycroft-core/mycroft/configuration/__init__.py”, line 15, in
from .config import Configuration, LocalConf, RemoteConf
File “/home/eekie/mycroft-core/mycroft/configuration/config.py”, line 17, in
import inflection
ModuleNotFoundError: No module named ‘inflection’