Spyder is an open-source cross-platform IDE for scientific programming in Python. It can integrate with packages such as NumPy, SciPy, Matplotlib, Pandas, Cython, IPython, SymPy, and other open-source software.
It comes with features such as automatic code completion, horizontal/vertical splitting, code linting, debugging, etc.
In this article, I will discuss how to install and use Spyder IDE in Ubuntu Linux.
Prerequisites
To follow this guide you should have the following.
- A system running a recent version of Ubuntu
- Access to a user account that has superuser privileges
How to install Spyder in Ubuntu
There are different ways using which you can install and use Spyder on your Ubuntu system.
Installing Spyder IDE from Ubuntu repository
This is one of the easiest methods of installing a package in Ubuntu but you may end up having outdated software.
Before you install Spyder IDE from the Ubuntu repository make sure to update the local package database and upgrade the pending packages by using –
sudo apt update && sudo apt upgrade -y
Next, use the following command to install Spyder –
sudo apt install spyder3
If it asks you for confirmation press y and then Enter.
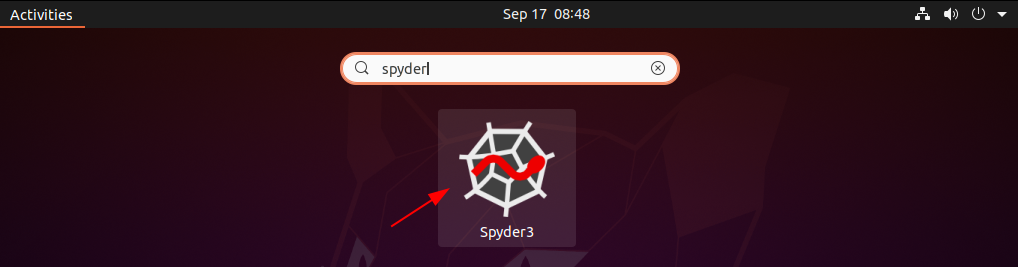
Launch Spyder in Ubuntu
If you install Spyder IDE from the Ubuntu repository you can search spyder in the activity dashboard and click on the icon to launch it. As you can see in the image below.
Running Spyder with Anaconda
This is the recommended way to install and use Spyder IDE on a Linux system.
Anaconda is a package manager, environment manager, and distribution of Python and R programming languages for data science, machine learning, predictive analysis, large-scale data processing, etc.
It comes with over 250 automatically installed and more than 7500 packages can be installed from PyPI and conda package manager.
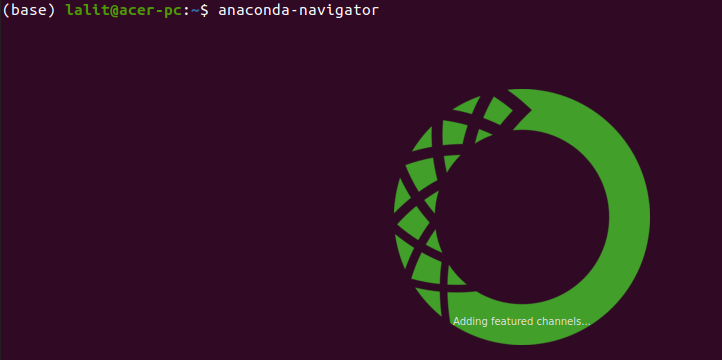
First, follow the guide and install the Anaconda in Ubuntu.
Once installed open Anaconda Navigator by searching it in the Activities dashboard or using the following command in your terminal.
anaconda-navigator
Now you can directly Launch the latest Spyder IDE from the Anaconda Navigator.

Clicking on the Launch button below the Spyder in anaconda navigator will start the IDE.
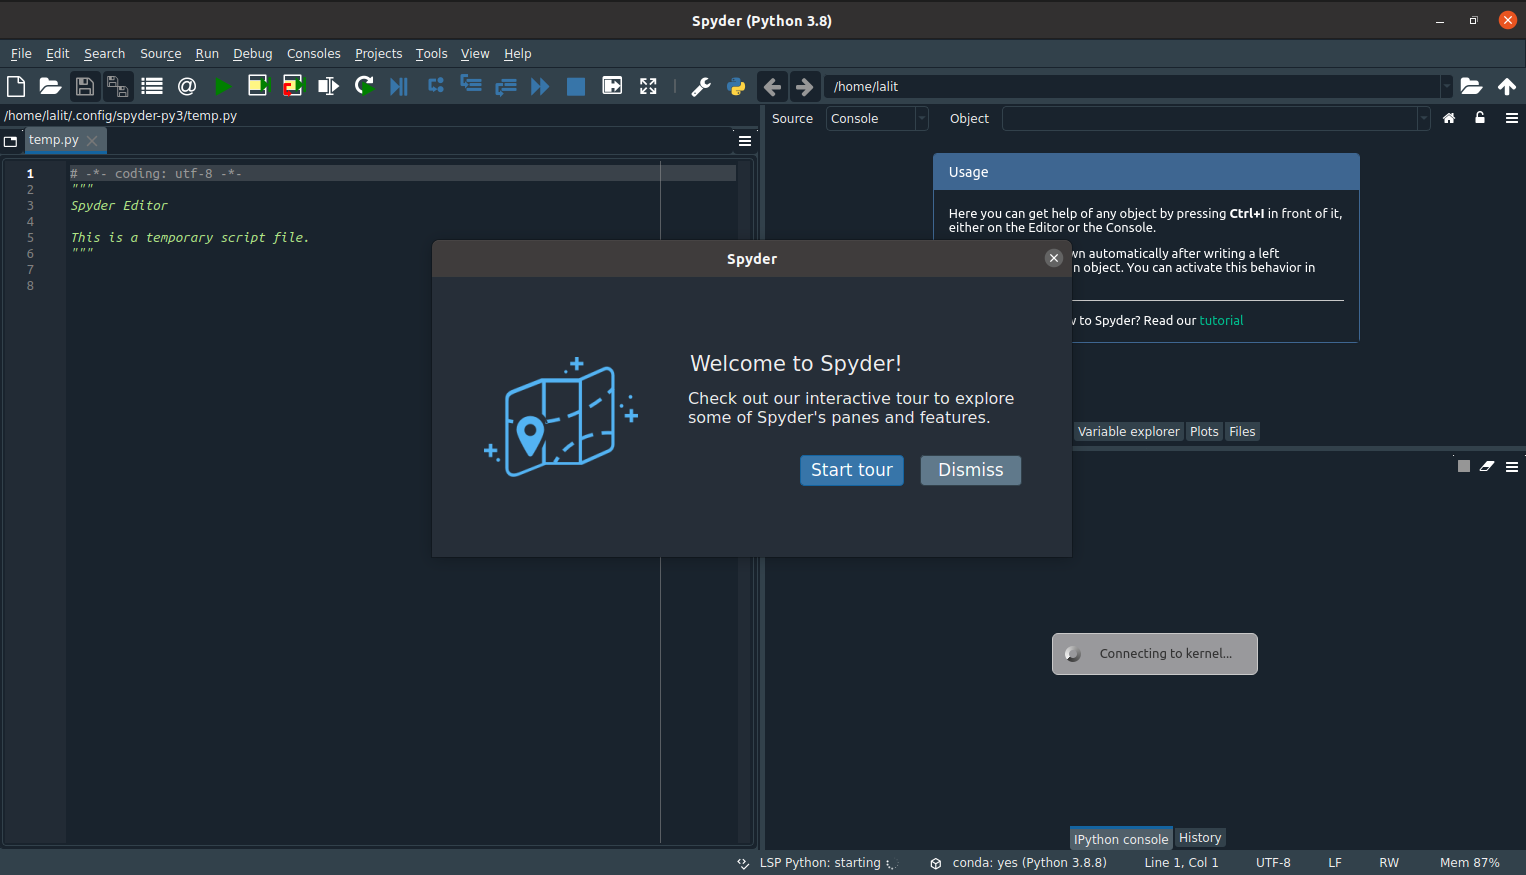
Now you can start using it for creating projects.
Conclusion
You have successfully installed the Spyder IDE on your Ubuntu system. Now if you have a query then write us in the comments below.