An IP address is a unique identifier that is assigned to each device connected to a computer network. A computer on the internet can have a static or dynamic IP.
Static IP once configured stays the same over time but dynamic IP changes whenever you reconnect to the internet. Dynamic IPs are assigned automatically through DHCP while static IPs are configured manually.
In this article, I will discuss how to set static IP in a Ubuntu system.
Configuring static IP on Ubuntu desktop
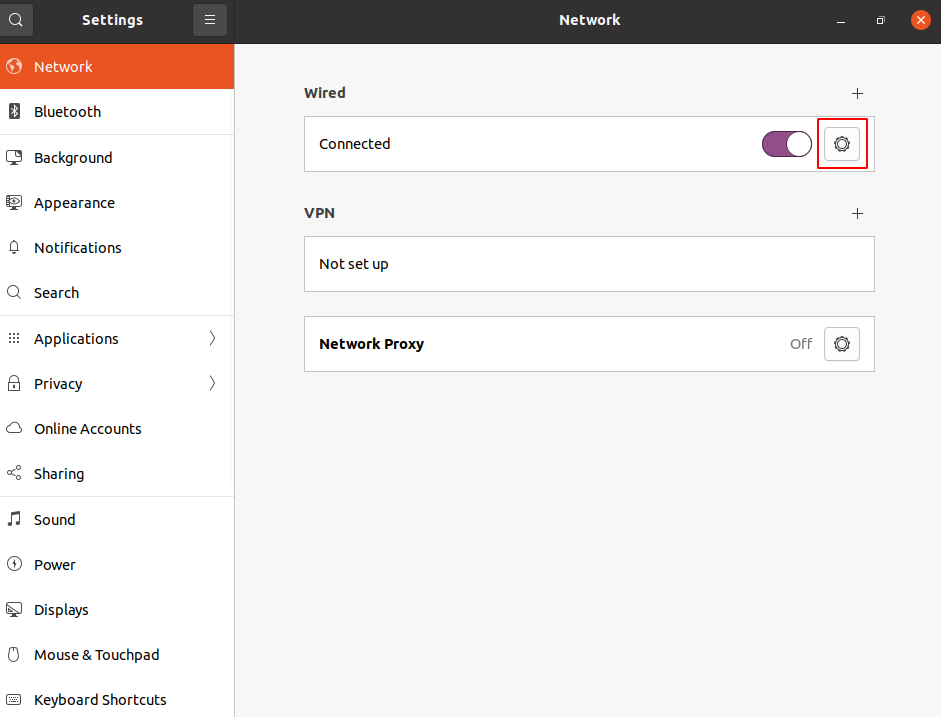
In Ubuntu desktop, you can easily configure static IP through its graphical user interface. From the Ubuntu, activity dashboard go to Settings> Network and then click on the icon as given in the image below.
In the next window go to the IPv4 tab and then select Manual.
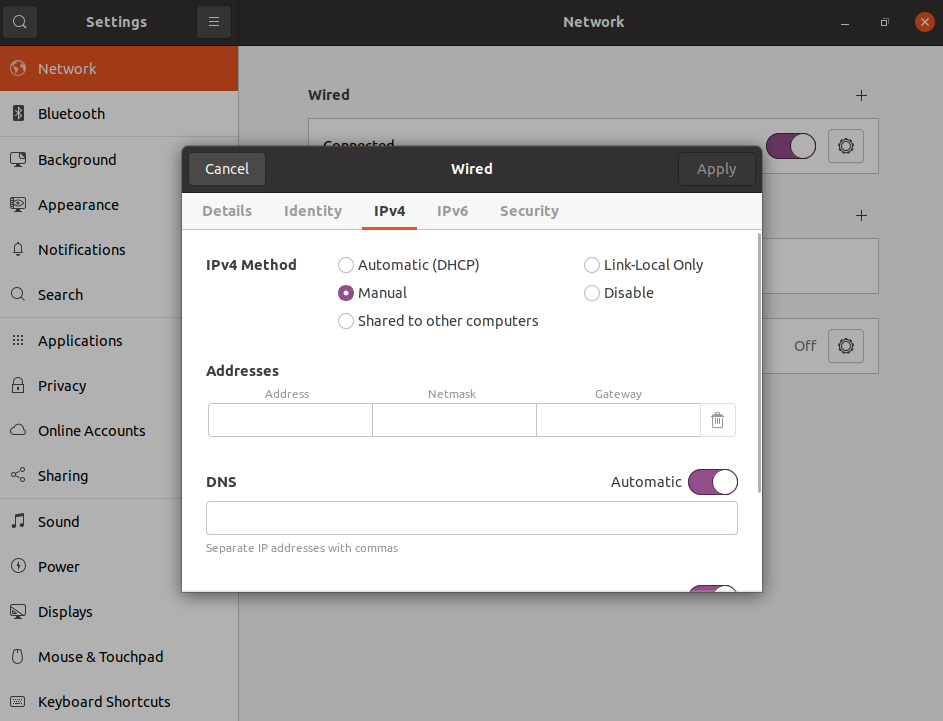
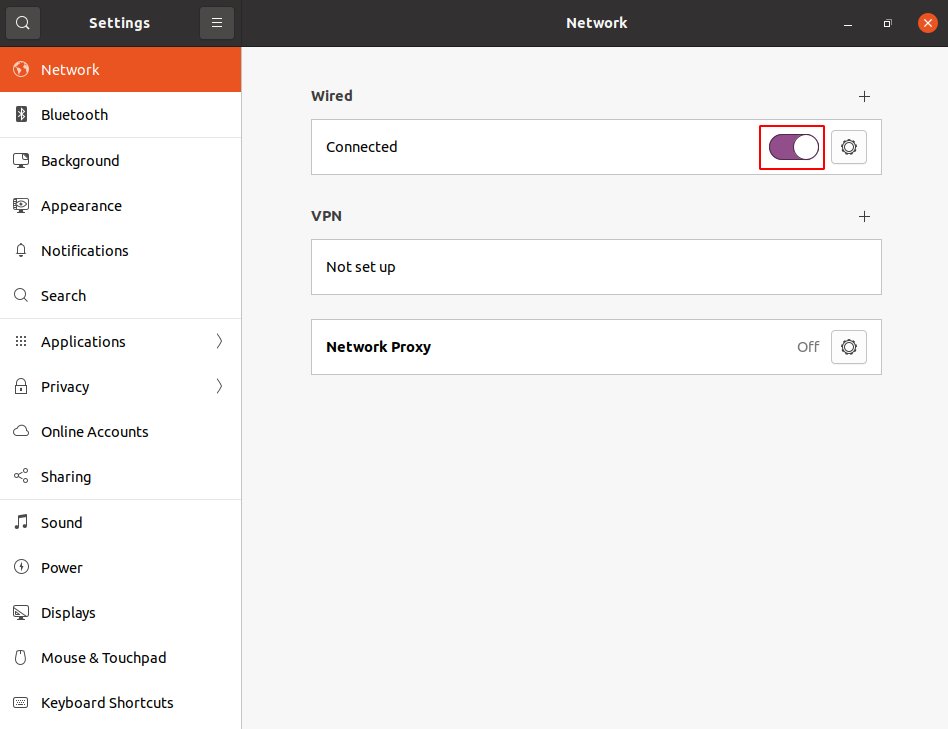
Here enter your desired IP address, netmask, gateway, and DNS settings and click on Apply. Now switch off and on network switch once again and check the details on the network.
Configuring static IP on Ubuntu server
The recent versions of Ubuntu uses netplan as the default network management tool, to set static IP you need to modify its configuration file within the /etc/netplan directory. You will find one or more YAML files inside this directory.
For example, you might find the default netplan configuration file called 50-cloud-init.yaml or 01-network-manager-all.yaml To set static IP open this configuration file using your favorite text editor.
sudo nano /etc/netplan/01-network-manager-all.yamlThe configuration file will look something as it given in the image below.

The Netplan supports two renderer, NetworkManager and Systemd-networkd. The NetworkManager is used mostly on desktop machines while Systemd-networkd is used on server or systems without GUI.
Before you make any changes to your configuration file first you need to identify the ethernet interface on your system that you want to configure. Use the given command to display the list of all network interfaces on your system –
ip link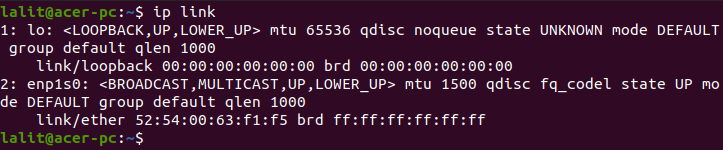
Now lets we want to configure enp1s0 then open you configuration file once again and if renderer is set to NetworkManager then change it to networkd.
Add set dhcp4 option to no enter your IP address, gateway and nameserver settings as given in the image below.
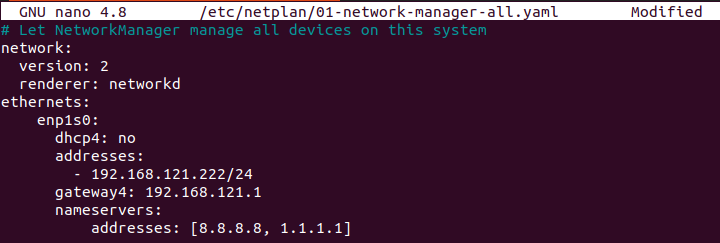
Once you are done with the configuration save the file and exit from the editor.
Now apply the changes using the given command –
sudo netplan applyYou can verify the changes by using the given command-
ip addr show dev enp1s0Conclusion
I hope you understand how to set static IP address on a Ubuntu system. Now in case you have a query then write us in the comments below.